Create a workspace
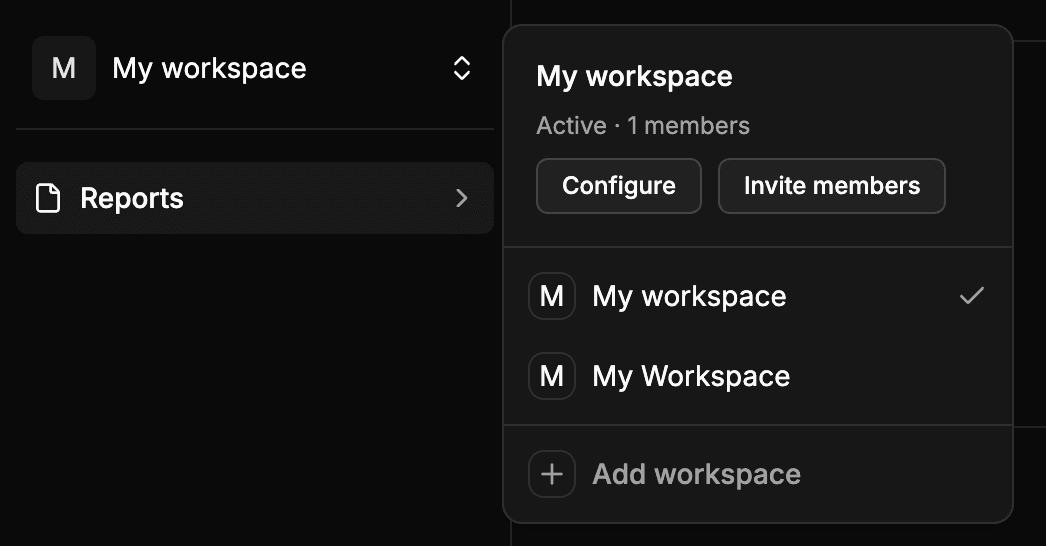
Create a new workspace and start working
Any user can create workspaces, up to 3 of their own. When you create a workspace you become its owner and its only member.
Create the workspace
- Open the workspace selector, at the top of the sidebar.
- Select Add workspace, at the end of the list.
- Enter the name of the workspace and, if you want, a description.
- Confirm to create it.
Name and description
| Field | Required | Rules |
|---|---|---|
| Name | Yes | Between 3 and 30 characters. |
| Description | No | Between 10 and 255 characters. |
The name identifies the workspace in the selector, and its first letter is the icon of the workspace. Use a name that the rest of your team recognizes, such as the name of your company or of your team.
After creating it
The new workspace appears in the workspace selector. If you already had other workspaces, the active one does not change: switch to the new workspace to start working on it.
A new workspace starts empty: without reports, without credits and with you as its only member.
Limit of workspaces
Each user can own up to 3 workspaces. When you reach the limit, Wheelop cannot create more and shows an error. The workspaces of other people where you are a member do not count towards this limit.